Life hack: once you learn how to propagate plants, you’ve got yourself a lifetime supply of leaf babies.
Plants are intrinsically built to grow and multiply. And while propagating plants might sound like hard work, depending on what type of plant you’re working with, it can be simple.
You can propagate a plant by stem or leaf cutting to aid new root growth and give your plants new life. We’ve teamed up with our friends at Leaf Supply to pull together a few tips and tricks you can follow to ensure the cuttings take root and thrive.
So whether you’re looking to expand your own collection, or to share the love with friends, propagating is an inexpensive and easy way to get new plants from your existing collection.
Propagating plants 101
When setting out to propagate plants it’s important to note that success is definitely not guaranteed so don’t be discouraged if some cuttings don’t make it.
Here are some things to consider to encourage successful propagation:
- Choose the healthiest plant. The exception to this rule is if you have a plant that you’re trying to salvage by propagating. In which case you really have nothing to lose.
- Propagation is best done in the warmer months when plants are in their active growing period.
- Make sure your plant has been watered a couple of days before you plan on propagating, so it’s nice and hydrated.
- Rainwater or distilled water is ideal for use when propagating.
- Take more cuttings than you need as not all will take.
- Treat cuttings gently while you delicately separate them from the original plant
- Be sure not to overwater or place in too large a pot while the roots are getting settled in as this can drown your plant.
- Keep baby plants in a warm, brightly lit spot without any direct sunlight.
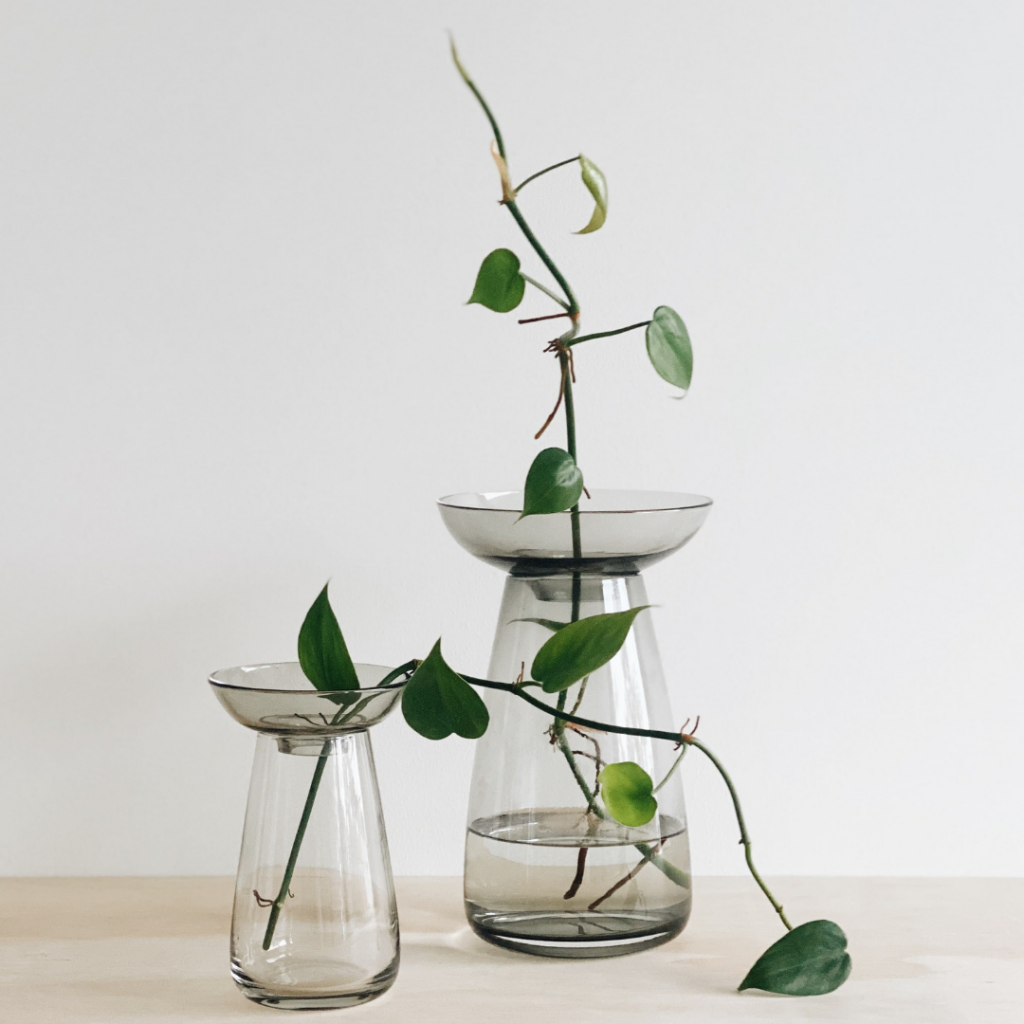
To get started all you’ll need is a plant ready for propagating, clean sharp secateurs, fresh pots filled with potting or seedling mix, or glass vessels depending on the method you’re going to use. For those new to propagating, keep it simple and start with devil’s ivy cuttings in a cup.
Below we explore five techniques suitable for different varieties of indoor plants, including the most common stem cutting. Plants can often be propagated using one or more of the methods below.
Five techniques to help your propagate like a pro
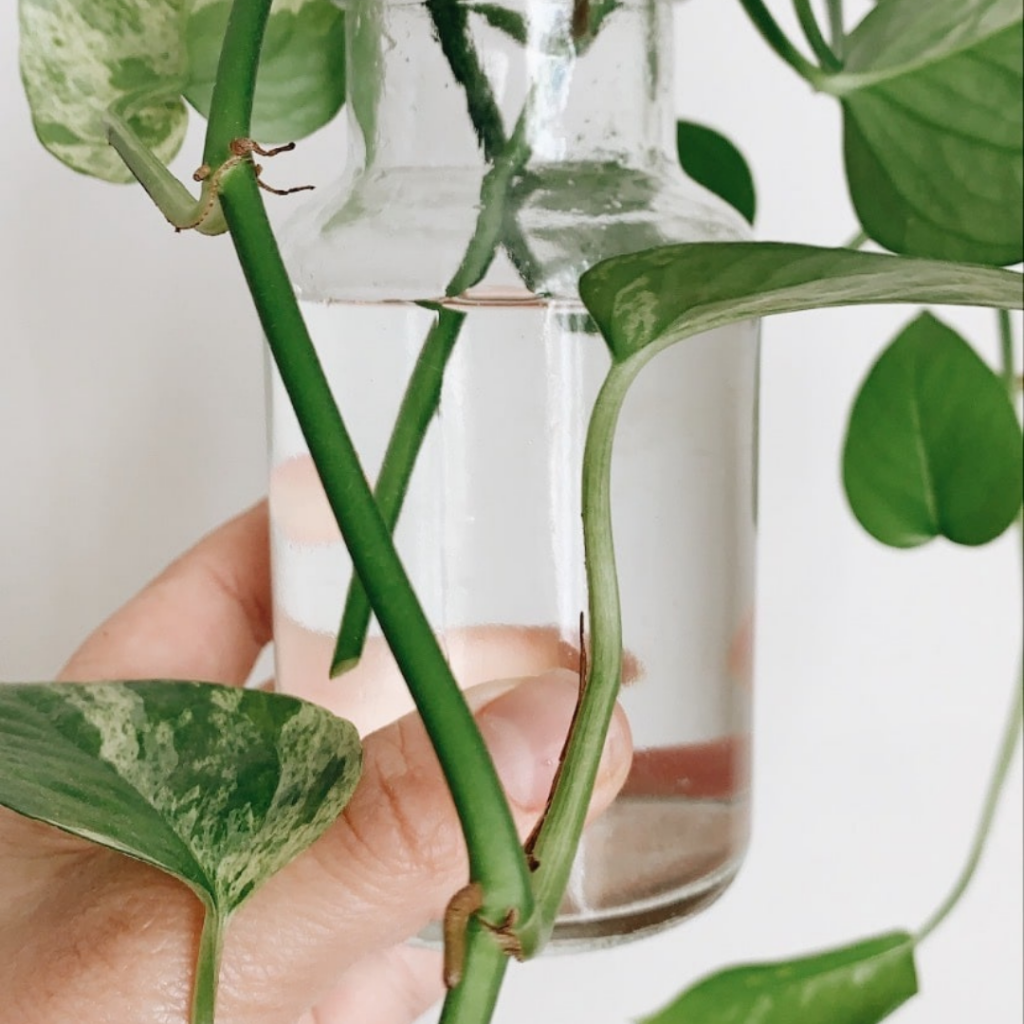
Stem cuttings
Probably the most common propagation technique, it’s great for your Aroids, Begonias and Hoyas. Using a clean pair of secateurs, cut your stem at a 45 degree angle, ensuring it’s about ten centimetres long and includes a few leaves and one or two nodes (these are ridges on the stem, often alongside a leaf or side shoot).
Most tropical plants can be placed directly into a pot filled with fresh potting mix, seedling mix or sphagnum moss; or into a water-filled glass vessel. Change the water at least once a week, and make sure to remove any dead foliage or rotted stems.
Unlike tropical plants, most cacti and succulent cuttings should be left for a few days for the cut end to callus (dry out) before placing into a coarse, sandy potting mix. Allowing it to seal means it’s less likely to become infected.
You can further increase your chances of success by dipping the cutting (tropical and succulent alike) into a store bought rooting hormone, or use a natural substitute like honey or even saliva! Just be sure to spit on a plate rather than insert the cutting into your mouth.
Keep in a bright spot near a window with views of the sky and no direct sun. New roots can take up to six weeks to appear, so be patient.
Plantlets + offsets
Plantlets are miniature versions of the adult plant that appear at the end of branches or runners.
Spider plants provide a perfect example, producing lots of baby ‘spiders’ on aerial stems from the mother plant. Similarly offsets are side shoots or ‘pups’ that are genetically identical daughter plants, produced by such plants as the Chinese money plant or Sansevieria. These baby plants usually appear around the base of the mother plant and are very delicate with only a small number of roots.
Once plantlets and offsets are a decent size, simply remove with a clean sharp knife or secateurs and place in a fresh pot with good quality potting mix and adequate drainage. Both can also be rooted successfully in water.
Leaf cuttings
This technique works really well for things like Begonias or succulents.
First you have to gently twist off the leaf at the stem, making sure to get the whole leaf off. Let the leaf dry out for one – three days to lessen the chance of it rotting, then dip it in your choice of rooting hormone and insert two-thirds of the stem end into the soil. Point the leaves away from the pot’s centre, so the new roots are centred, and gently press the potting mix down.
Division
Once some plants are big enough, you can easily divide them to create two or more plants. It’s best to do this in early spring so your new plants will have a burst of growth once they’re been re-potted.
To start, remove the original plant from its pot. Grab the plant with both hands and gently try to pull it apart. If this fails, remove the soil and try again or use a knife to carefully separate the roots. Then all you have to do is pop each new division into a fresh pot and top up with new potting mix. Make sure you treat these new plants gently for a couple of weeks, watering regularly and keeping out of direct light. Calatheas and Peace lilies are good examples of plants that can be propagated using this method.
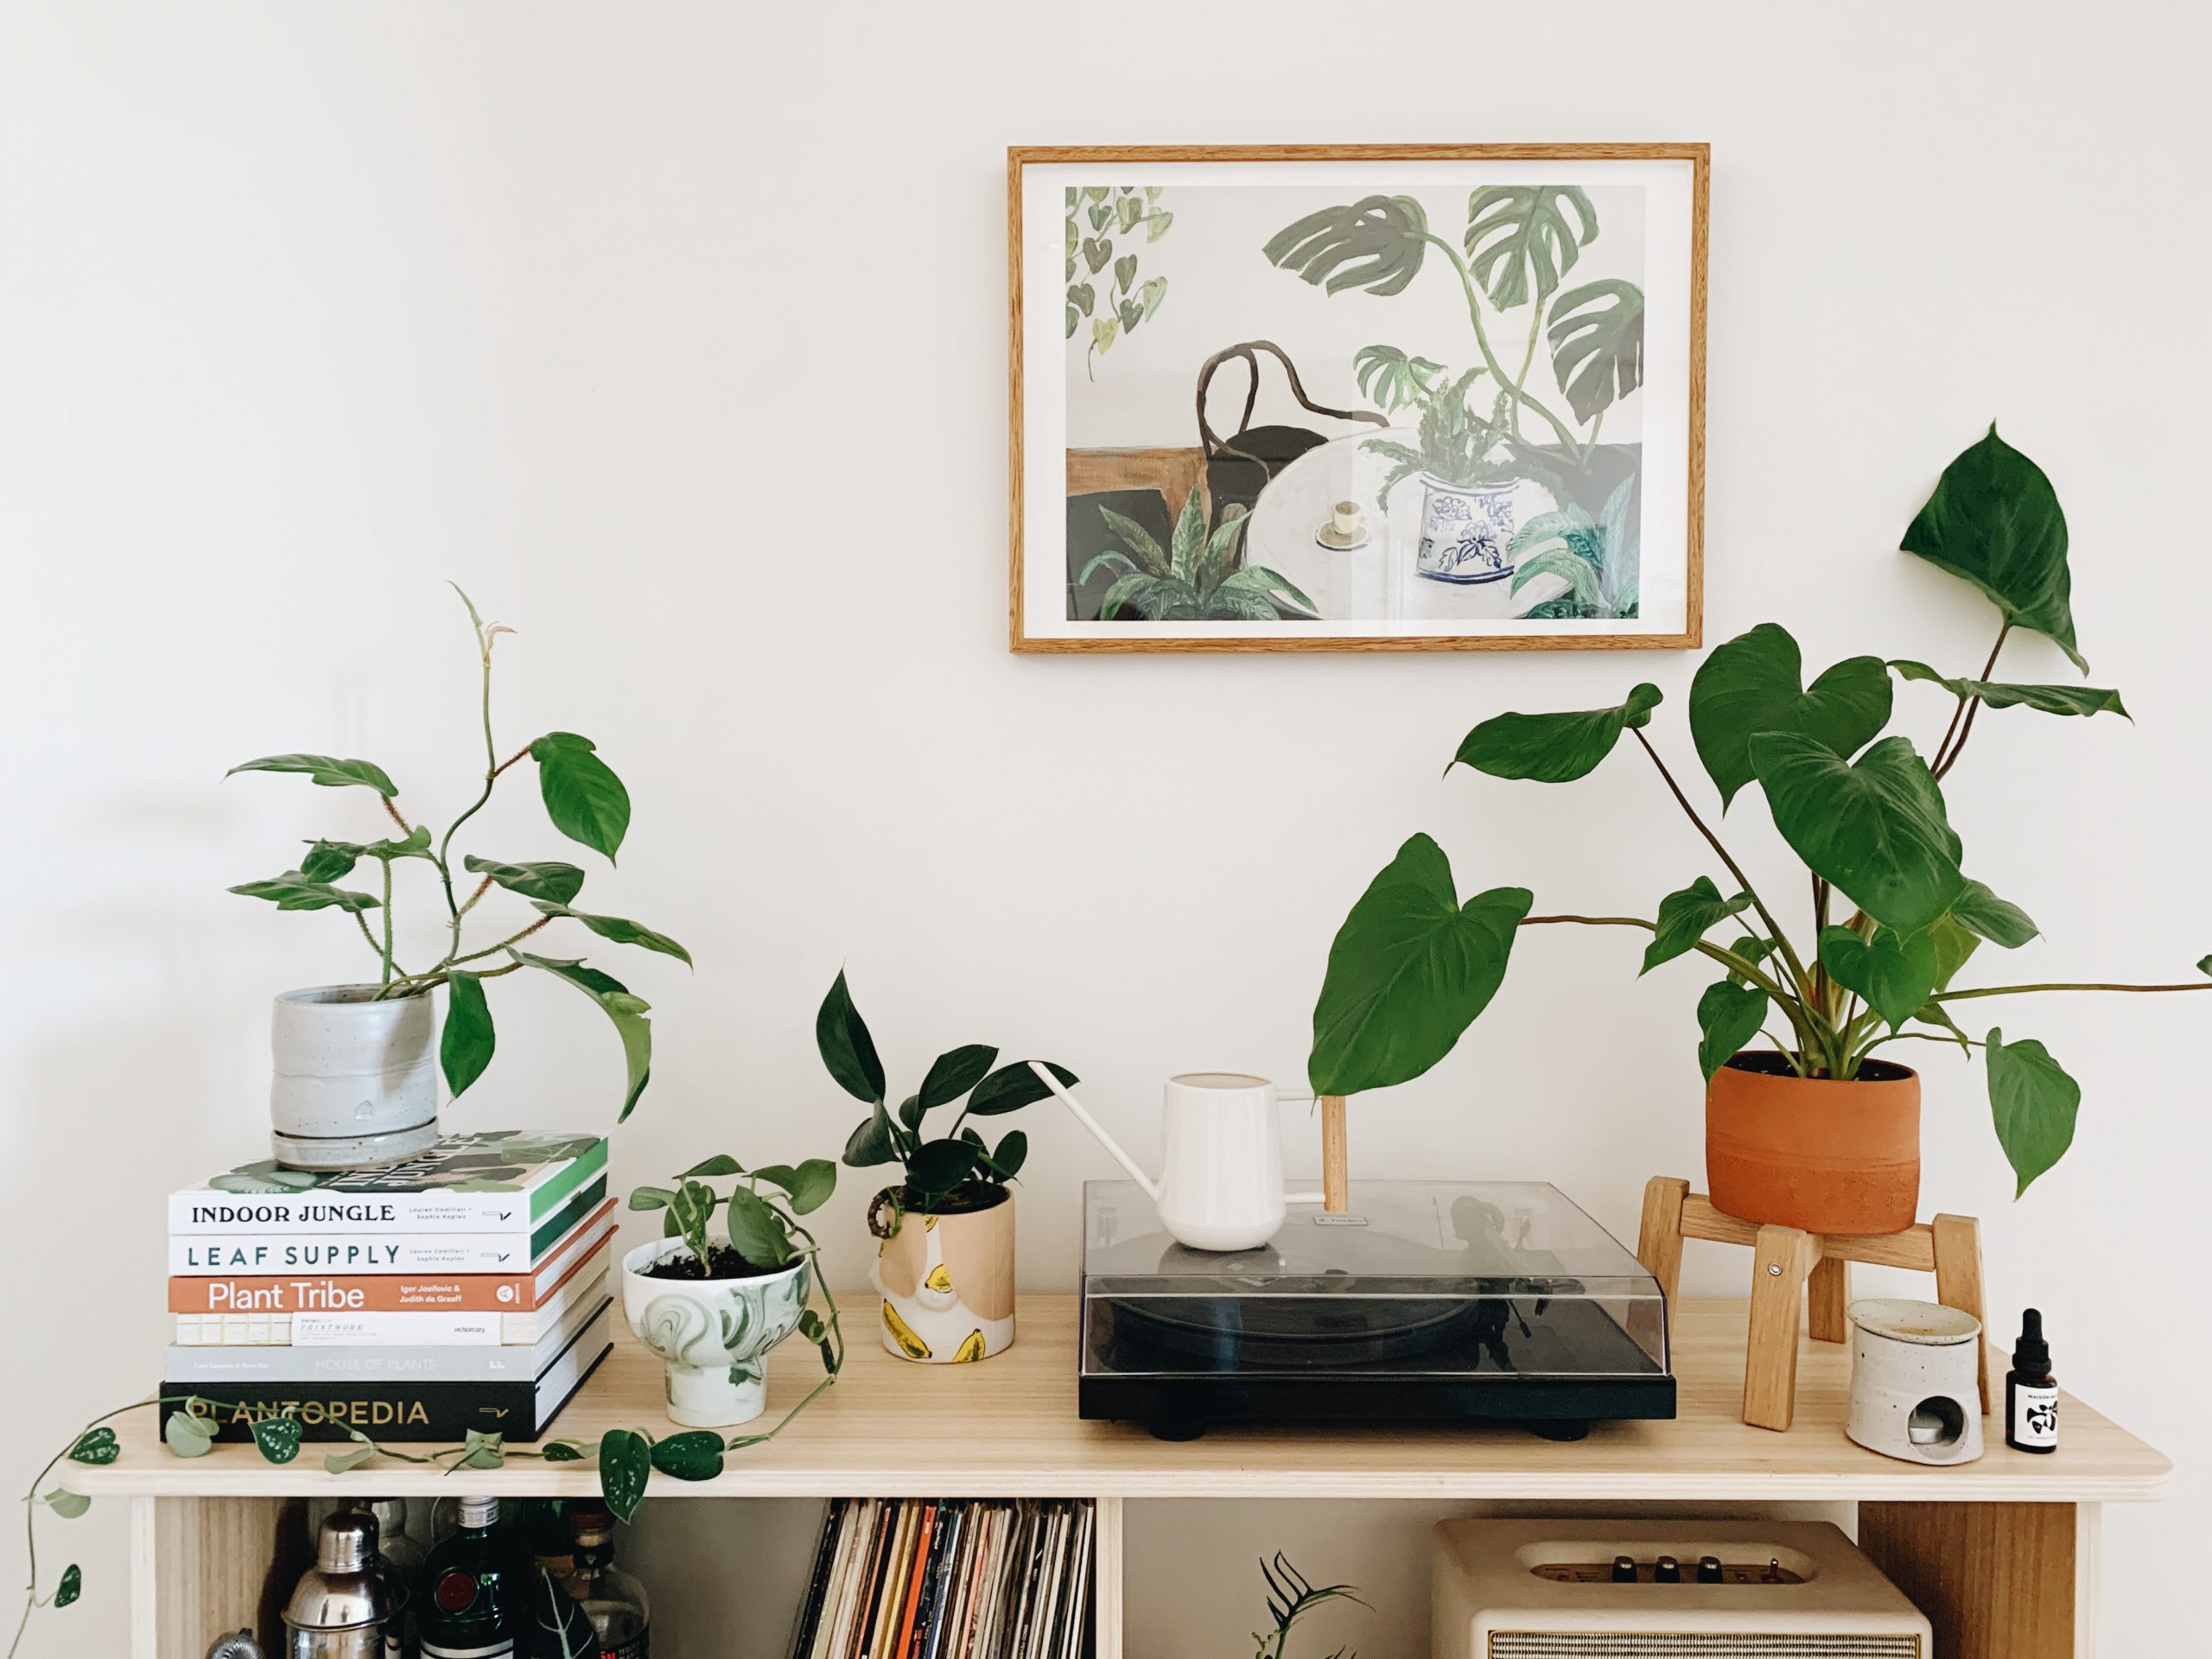
Put your propagated plants on display
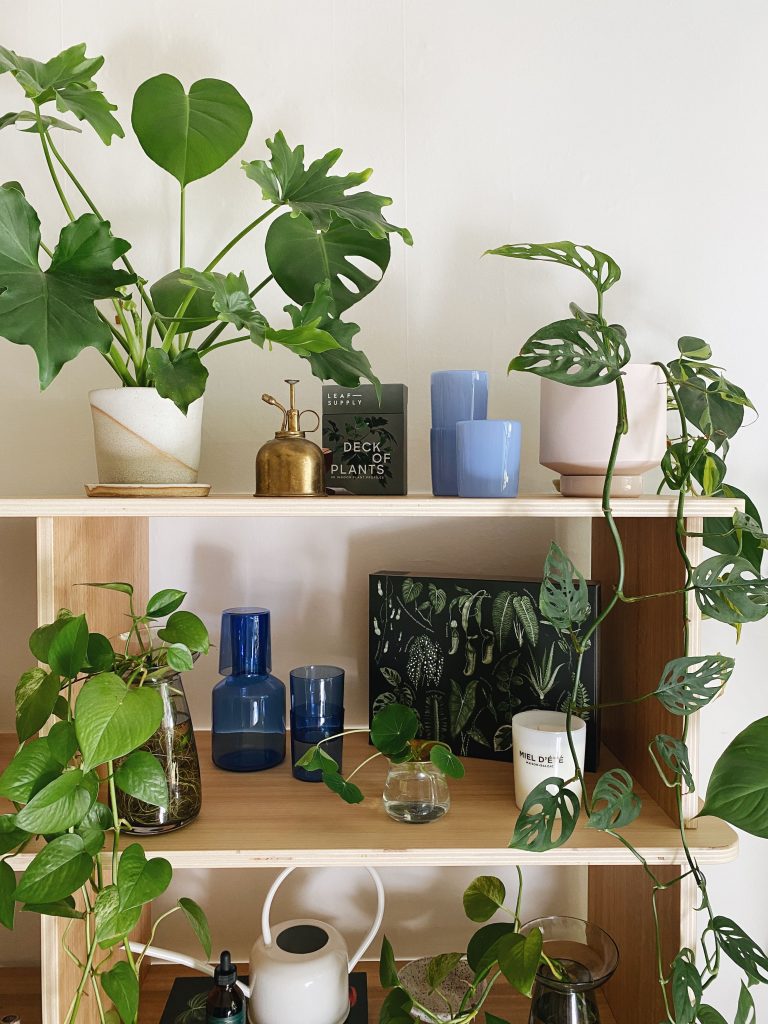
The final step is to put your plants on display with room to grow. For all things plants, check out Leaf Supply’s Plantopedia.